Some friends have been asking how I do some of my photo edits, and I thought it would be easier to do a little picture tutorial than to try to explain in words. Everything I know I learned from sites like thepioneerwoman.com, escrappers.com, and photoshopessentials.com, so these are not MY tricks, they're just tricks I've picked up along the way. I tried to show a variety of the different techniques I use, but I don't do all these steps to all my photos. In fact I didn't add a "screen" layer to this photo, which I usually do, but the levels adjustment was enough to brighten this picture.
So here goes, my first tutorial-
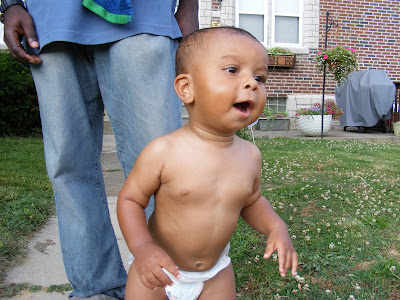
here's the before:
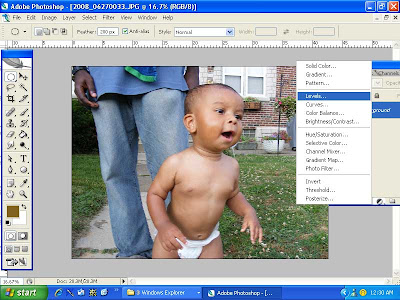
First I add an adjustment layer- see the half black half white circle at the bottom. I'm going to choose "levels".
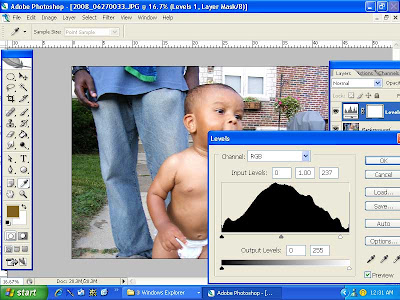
I drag the white slider to the left just a bit to brighten it.
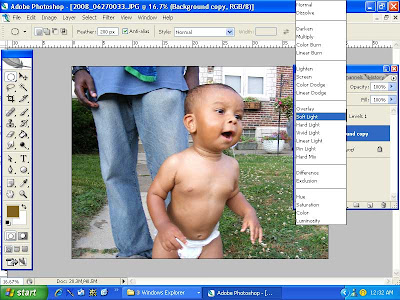
then with my background layer selected, I hit control J to duplicate the layer & I change the new layer's blending mode to "soft light" & adjust the opacity to my liking.
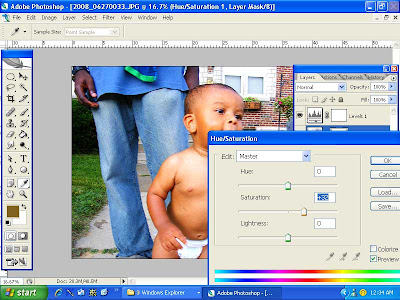
Then I add another adjustment layer- Hue/Saturation, and I drag the saturation slider to the right to make the colors pop (don't worry, i'm not letting the skin color stay neon like that)...
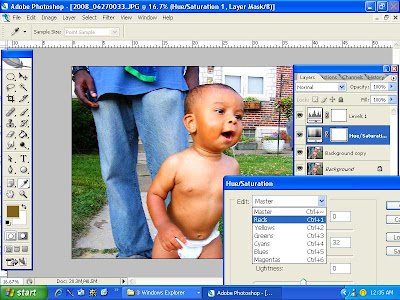
with that menu still open, I chose "reds" from the drop down & drag the slider back to the left to make the reds less saturated. (I sometimes tone down the yellows too)
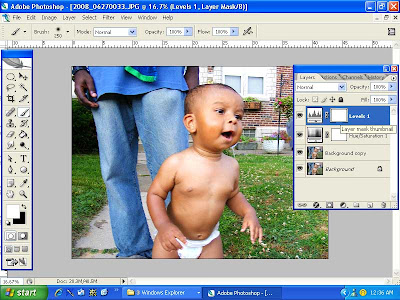
I don't like how bright the highlights are on his face & the diaper is too white, so i select the layer mask of the "levels" layer & paint over those parts of the picture with black. MAKE SURE THE LAYER MASK IS SELECTED & NOT THE LAYER ITSELF!
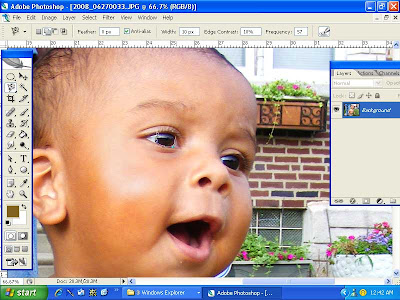
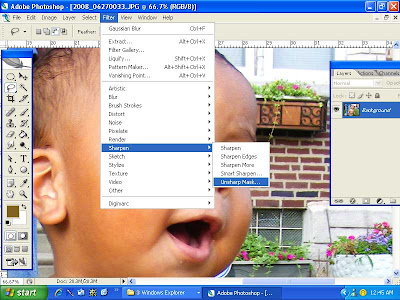
Next I do the eye pop- use the magnetic lasso to outline the eyes (under the regular lasso tool)
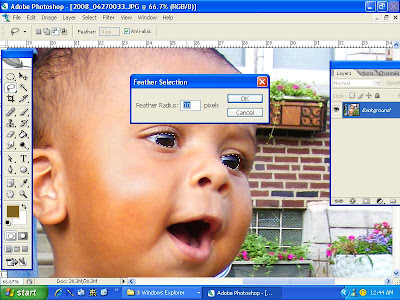
Then right click & choose "feather" set it to 10 pixels
go to Filter: Sharpen: Unsharp mask...then adjust it to your liking.
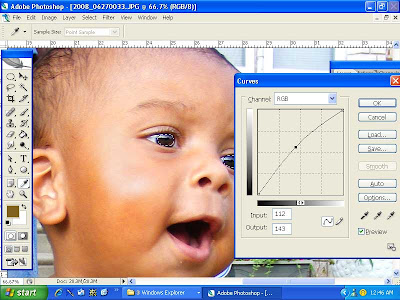
then you can either go to the image menu or hit control m for curves, and adjust the curve to brighten the eyes.
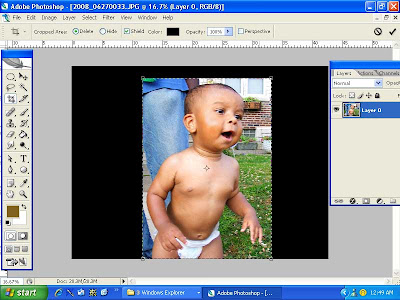
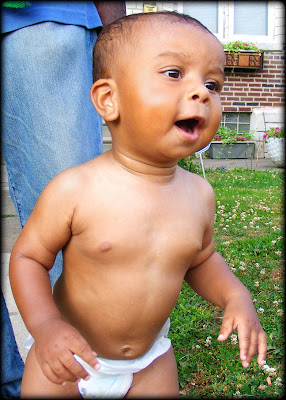
Then I'm going to crop it, just cuz I think it looks nicer that way ;)
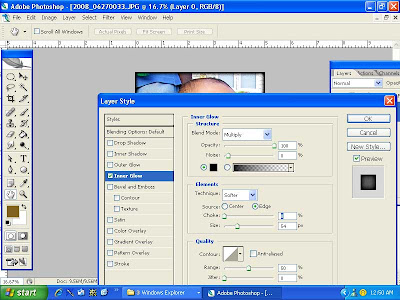
And finally, this is the tip everyone was asking about- the inked edges...so simple- just the "inner glow" layer style. First I double click the background layer to rename it (cuz it's locked until you rename it). then I double click it again to bring up layer styles (or you could go to Layer: Layer Styles: inner glow). It defaults to a pale yellow with "screen" as the blending mode. If I want a light color edge I'll keep it at screen, but if I want to do a dark color, in this case, black, I change the blending mode to "multiply" then I adjust the opacity, noise, choke, & size to my tastes.
and ta-da...actually, I did this at like 1 in the morning, and now that I'm really awake it's looking too yellow. I might go back & adjust his skin tone again.


 you can download the papers
  and the elements
  download the girls' papers
  download the girls' elements
  download the boys' papers
  download the boys' elements