fashiondeeva's shop <-- check it out!
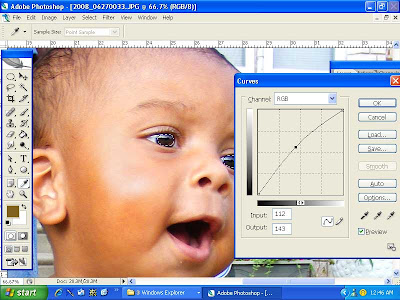
 I drag the white slider to the left just a bit to brighten it.
 then with my background layer selected, I hit control J to duplicate the layer & I change the new layer's blending mode to "soft light" & adjust the opacity to my liking.
 Then I add another adjustment layer- Hue/Saturation, and I drag the saturation slider to the right to make the colors pop (don't worry, i'm not letting the skin color stay neon like that)...
 with that menu still open, I chose "reds" from the drop down & drag the slider back to the left to make the reds less saturated. (I sometimes tone down the yellows too)
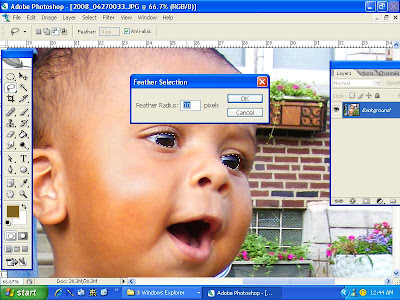
 I don't like how bright the highlights are on his face & the diaper is too white, so i select the layer mask of the "levels" layer & paint over those parts of the picture with black. MAKE SURE THE LAYER MASK IS SELECTED & NOT THE LAYER ITSELF!
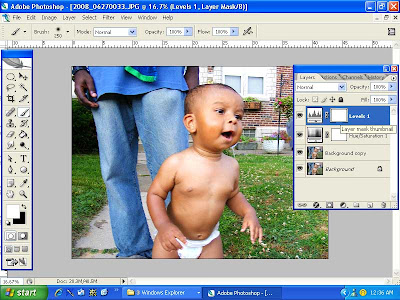
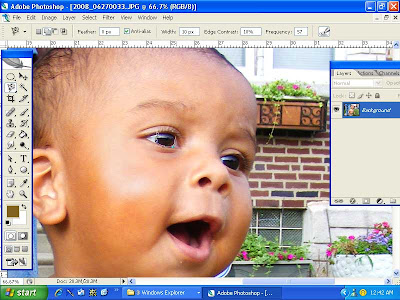
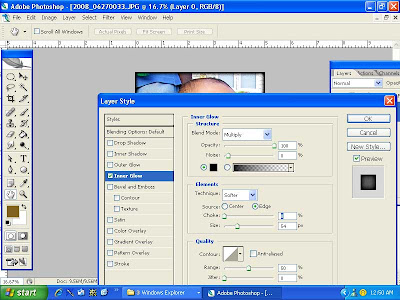
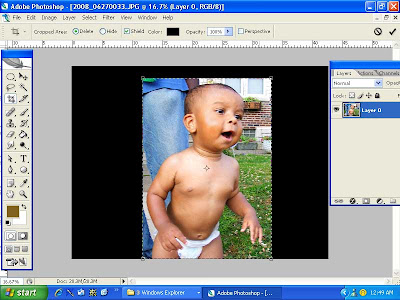 And finally, this is the tip everyone was asking about- the inked edges...so simple- just the "inner glow" layer style. First I double click the background layer to rename it (cuz it's locked until you rename it). then I double click it again to bring up layer styles (or you could go to Layer: Layer Styles: inner glow). It defaults to a pale yellow with "screen" as the blending mode. If I want a light color edge I'll keep it at screen, but if I want to do a dark color, in this case, black, I change the blending mode to "multiply" then I adjust the opacity, noise, choke, & size to my tastes.